
Hanukkah Clean-Up 2017/2018: The Oven Method
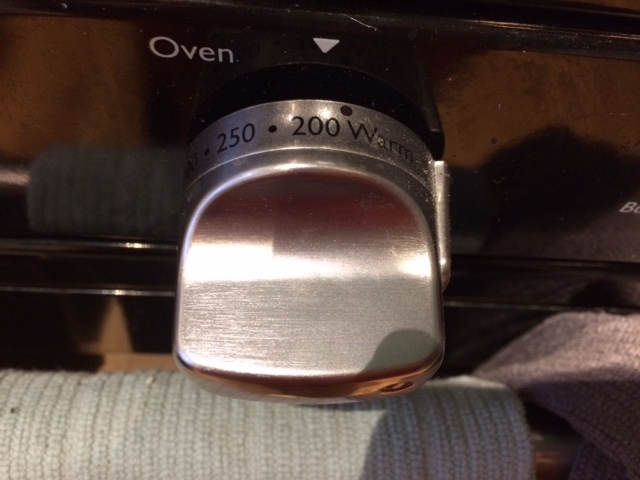
A blog post by Associate Director Tracie Guy-Decker. Read more posts from Tracie by clicking HERE.
I know people overuse the phrase “it changed my life,” especially at this resolution-time of the year, but I can honestly say that when I learned the oven-method of hanukkiah wax removal, it greatly increased my enjoyment of the festival of lights! Before I learned this method, I used to spend hours with a fork or a toothpick or sometimes a chopstick chipping away at wax our menorahs. I would scrape and poke and curse and then start the cycle over again. It was as far from Hanukkah joy as you could get. Now that I use the oven method, even the clean-up of the holiday feels like a blessing.
To share the added joy, I wanted to walk you through it.
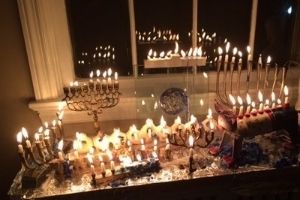
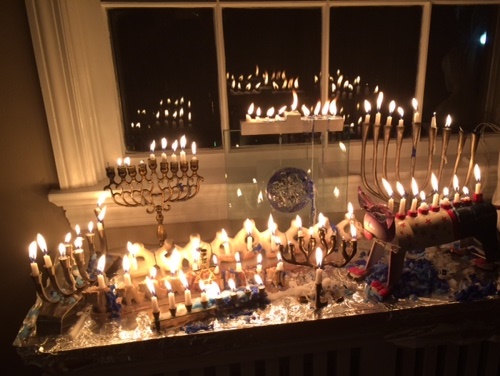
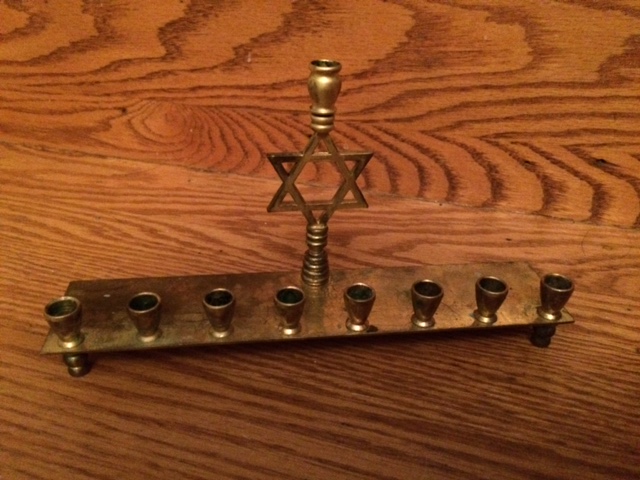
First, a glimpse of my house on the final night of Hanukkah:
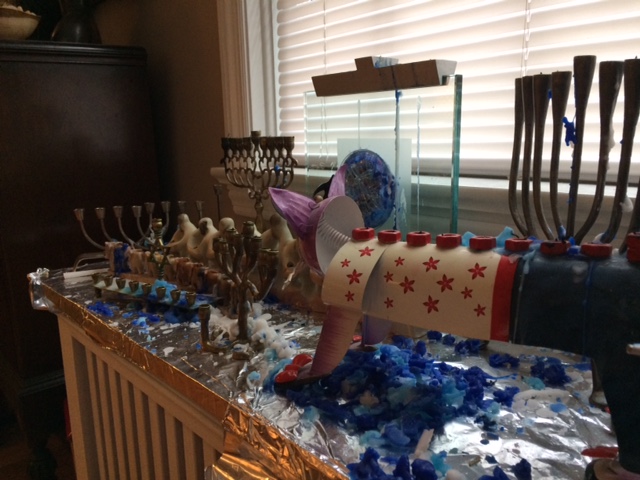
To remove this build-up I followed these steps:
2. Break off any wax that will come off easily and discard. Do not work at this: if it doesn’t come off easily, leave it.
3. Cover a cookie sheet in aluminum foil. Make sure the foil overlaps the edges of the sheet so you don’t end up with waxy cookie sheets.
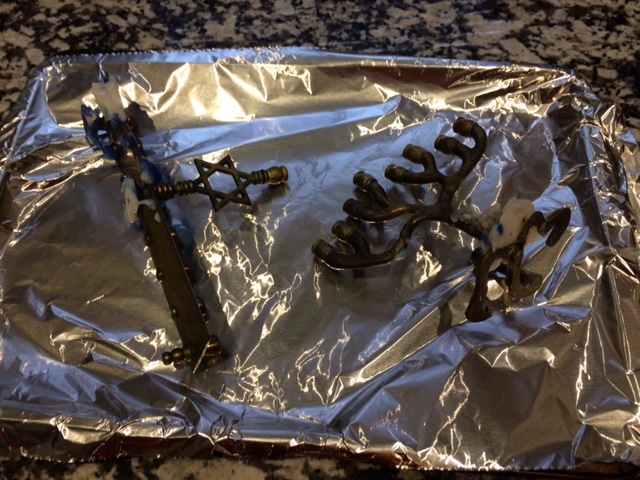
4. Place the cookie sheet into the oven for approximately 20 minutes
5. Remove the cookie sheet from the oven and carefully (it’s hot!) remove the menorah from the cookie sheet (you might want to have prepared another piece of foil if you’re worried about removing wax from the counters, too). You should be leaving a puddle of wax on the foil on the cookie sheet.

6. Carefully (it’s still hot!) wipe the liquid wax from the menorah with a clean rag. (Use a thicker rag so the heat doesn’t bother your hands.)
a. Fold the rag after each wipe so that you’re not just moving wax around.
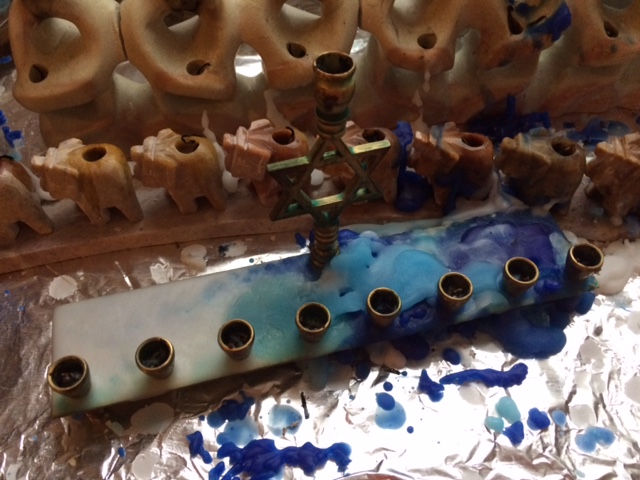
b. If your menorah has small nooks and crannies, you can use a q-tip or other small tool to wipe out the liquid wax (I used my rag around a kabob skewer to get into the openings in the star points).
c. If you have a very ornate menorah, you might need to put it back into the oven for a few minutes if your detail work in one area allows the wax to cool too much in another area.
7. Discard the foil and the rag.
So, what do you think? Life changing? Ok, so maybe it’s not on par with falling in love or finding your dream home, but I hope that it does make your dream menorah more of a possibility for you. Come down and see us at Esther’s Place. I bet you’ll be looking at our fancy and fanciful hannukiot in a new light now that you know the oven method!
P.S. Even with the oven method, I recommend sticking with white and/or beeswax candles for the really ornate menorahs out there. I would also note that in my experience, cheaper candles make more wax.